Floating screed: build-up, thickness, insulation and reinforcement

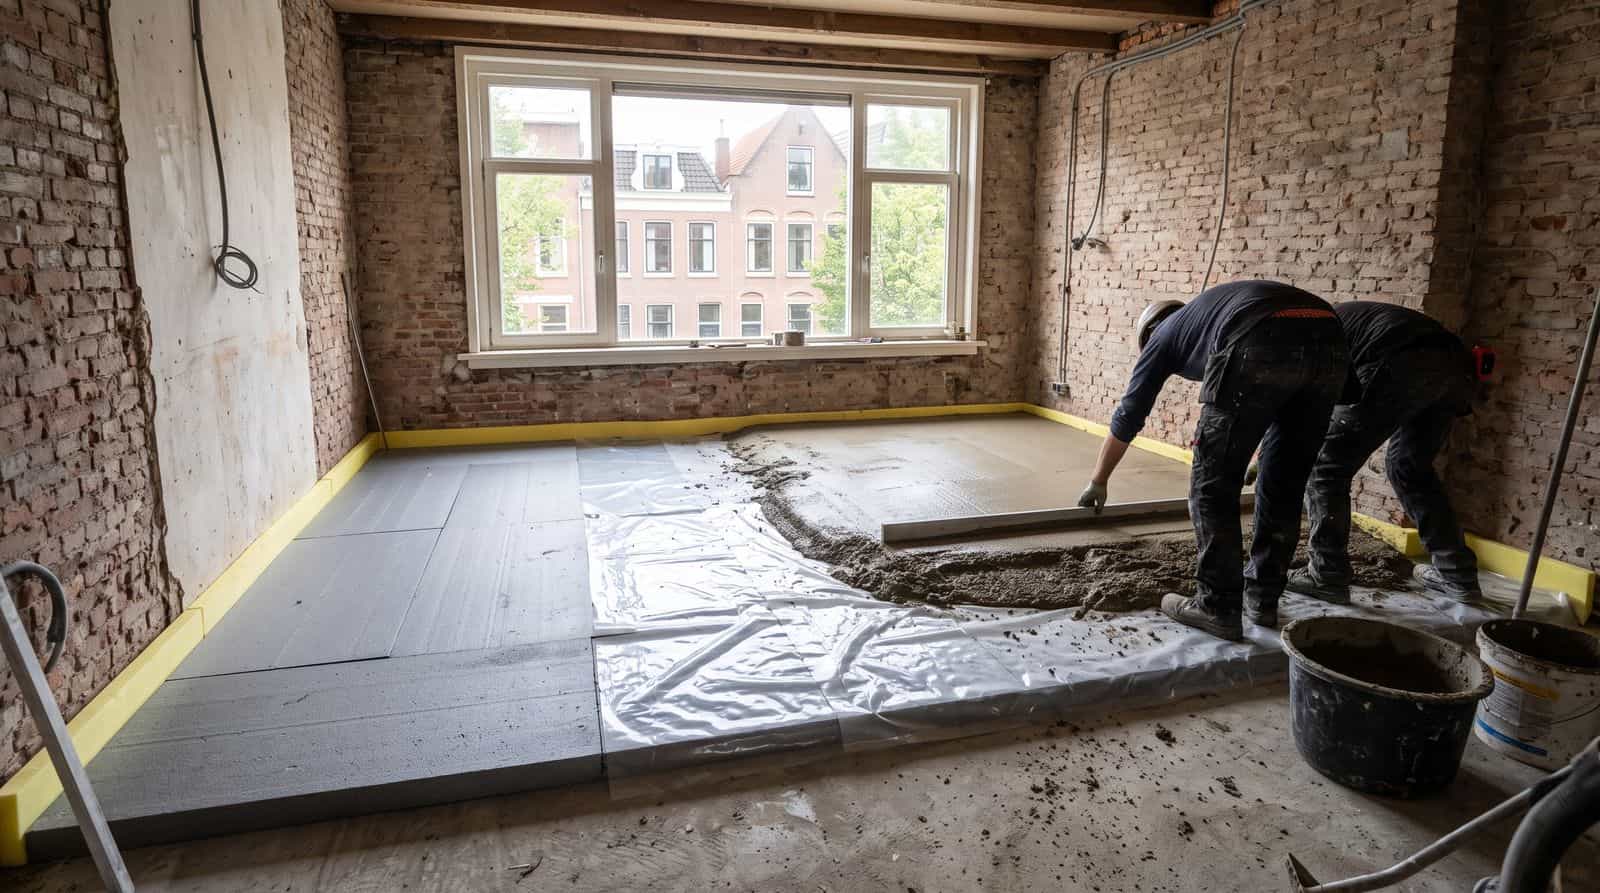
The floating screed layer by layer: build-up with edge strips and insulation, minimum thickness of 65–70 mm, insulation choice and why fibre reinforcement is standard here.
A floating screed is a finishing floor that lies completely free of the structural floor and the walls: it rests on an insulation layer and is separated from all rising elements by edge strips. Guide values: minimum 65–70 mm thick, an impact sound improvement in the order of 10 dB, and always shrinkage reinforcement — fibres and/or screed mesh.
What is a floating screed and when do you choose one?
Of the three screed types — bonded, unbonded on a membrane and floating — the floating version is the only one that makes no contact anywhere with the supporting structure. The screed "floats" on a continuous layer of insulation material and is separated from the rising work along all walls, columns and service penetrations by resilient edge strips. The general mixes, drying times and prices of the sand-cement screed apply here too; this article covers what makes the floating version different.
There are two reasons to work floating:
• Impact sound — footsteps and scraping chairs are no longer transmitted directly to the structural floor. Between dwellings, regulations set a hard requirement for the weighted impact sound level; a well-executed floating screed is the standard solution to meet it, especially in apartments and upper floors.
• Thermal insulation — on the ground floor, the insulation layer separates the warm screed from the cold structural floor or crawl space. With underfloor heating that is not a luxury but a necessity: without insulation you are heating the foundations as well.
The downside: because the floor lies loose on a layer that can give, it is more sensitive to deformation and cracking than a bonded screed — which drives the thickness and reinforcement rules further on. This article belongs to the pillar applications and target groups.
Floating screed detail: the build-up layer by layer
The standard detail of a floating screed consists, from bottom to top, of five layers:
• Structural floor — the load-bearing concrete floor (wide-slab, hollow-core or cast in situ), broom-clean and free of coarse irregularities; pipework is preferably buried in a levelling layer beforehand, so the insulation lies flat and fully supported.
• Edge strip — a resilient strip (foam band or mineral wool, typically 5–10 mm thick) along all rising elements: walls, columns, door frames and service penetrations. The strip runs up above the top of the finished floor and is only trimmed after the floor finish is laid.
• Insulation layer — thermal (EPS, PIR) or acoustic (resilient boards or quilts), laid tightly butted in one or two layers with staggered joints.
• Membrane — a PE building membrane over the insulation, with generous overlaps and turned up against the edge strip. The membrane prevents mixing water and mortar running between the insulation boards and forming hard connections — sound bridges — there.
• Screed — the sand-cement or flowing screed itself, minimum 65–70 mm thick, with shrinkage reinforcement in the form of fibres and/or screed mesh.
The detail stands or falls with the continuity of the separation: one spot where mortar touches the wall or structural floor — torn membrane, a forgotten edge strip, a penetration without a sleeve — forms a sound bridge. Check the detail in full before pouring; afterwards, such a bridge can only be remedied with breaking-out work.
How thick does a floating screed need to be?
Because the floor does not bear on a solid base, it has to derive its stiffness from its own cross-section. Hence the lower limit of 65 mm: any thinner and a sand-cement screed has too little inherent strength to spread loads across the resilient insulation layer. Guide values per situation:
• Floating sand-cement screed, housing — minimum 65 mm, commonly 70 mm
• Floating screed with underfloor heating — 70–80 mm total, with a minimum of around 20 mm (many specifications: 25–30 mm) of cover above the pipes
• Thinner than 65 mm — only with shrinkage reinforcement (screed mesh) combined with fibres
• Floating flowing screed (anhydrite) — can be thinner thanks to its higher flexural tensile strength; follow the manufacturer's specification
• Heavier loading (office, light commercial space) — have thickness and reinforcement determined by a structural engineer or screed contractor
Factor the thickness into your programme: with the rule of thumb of 1 week of drying time per centimetre (and 2 weeks per centimetre above 4 cm), a 70 mm floating screed needs around 10 weeks before it may receive a vapour-tight finish.
Fermacell and other dry floating screeds
If you do not have 65 mm of build-up height or 10 weeks of drying time, you can also float dry: gypsum fibreboard elements (known from manufacturer Fermacell) of two bonded boards of 10–12.5 mm, often with a backing of fibreboard or mineral wool on the underside. Such a dry floating screed can be achieved in 20–35 mm of build-up height, weighs a fraction of a wet floor and can be walked on immediately after bonding — the usual choice in renovation and on timber upper floors. The downside: more limited point loads, and with underfloor heating you are reliant on special system elements. Fibre reinforcement plays no role here; it belongs to the wet, cement-bound version that the rest of this article is about.
Which insulation under a floating screed?
The insulation choice determines both the performance and the reinforcement regime. The key question: are you insulating thermally, acoustically or both?
• EPS (expanded polystyrene) — the workhorse insulation for ground floors: inexpensive, available in increasingly compression-resistant grades and dimensionally stable. For screeds, always choose a compression-resistant grade; the stiffer the board, the less the floor can deform.
• PIR — higher insulation value per centimetre than EPS, so the choice when build-up height is tight; likewise compression-resistant and barely compressible.
• Acoustic boards or quilts — resilient mineral wool or specially soft EPS grades with low dynamic stiffness. It is precisely the resilient behaviour that delivers the impact sound reduction, but it makes the base compressible — exactly the situation in which the screed leans more heavily on its reinforcement.
• Combination — on upper floors in apartments, a thin acoustic layer often lies on a compression-resistant thermal layer: the rigid board carries, the resilient layer decouples.
Rule of thumb for what follows: on a firm, barely compressible insulation layer (compression-resistant EPS, PIR), fibre reinforcement alone is sufficient; on a resilient acoustic layer, or with a screed thinner than 65 mm, you combine fibres with screed mesh. Always lay the insulation with staggered joints, cut infills to size at edges and pipe zones and avoid gaps — every void beneath the membrane is a place where the screed can deflect unexpectedly.
Impact sound: why floating only works if everything lies free
For impact sound, the floating screed behaves as a mass-spring system: the mass of the screed on the spring of the insulation layer filters the vibrations away before they reach the structural floor. A well-executed floating screed thus delivers an impact sound improvement in the order of 10 dB or more — the difference between neighbours who hear every footstep and neighbours who notice nothing. For party floors between dwellings, that improvement is usually needed to meet the statutory requirement for the impact sound level.
The practical failures rarely lie in the system and almost always in the execution:
• Edge strips trimmed too early, after which skirting boards or tiling couple the floor to the wall after all — leave the strip standing until after the floor finish and do not seal the skirting rigidly.
• Mortar bridges through torn or poorly overlapped membrane.
• Service penetrations cast rigidly into the screed without a resilient sleeve.
• Visible cracks running right down to the insulation; through the crack face and adjacent debris, local contact points can form. That, too, is why crack control in floating floors is more than cosmetics.
Floating screed with underfloor heating
Underfloor heating almost always sits in a floating build-up: the pipes are mounted on the insulation (or on castellated panels on top of it) and cast into the screed. That stacks two sources of stress: the floor lies on a resilient layer and undergoes a thermal movement of around 0.010–0.012 mm per metre per degree with every heating cycle — on an 8-metre floor bay heated by 20°C, that is quickly 1.6 to 2 mm. Fibre reinforcement is therefore the standard here, and after drying a step-by-step heat-up protocol applies.
Allow 70–80 mm total thickness with a minimum of around 20 mm of cover above the pipes, and pay extra attention to crossing pipes: there the cover is locally reduced and the cracking risk correspondingly greater. The full treatment — thicknesses per floor type, the mesh-versus-fibres trade-off for heated floors and the six-step heat-up protocol — is in underfloor heating and the screed.
Reinforcement: why the floating screed in particular needs fibres
Every cement-bound screed shrinks as it dries, but the floating screed has three handicaps at once. It lies on a layer that can give, so loading produces bending stresses that a supported floor never sees. It lies on a non-absorbent membrane, so the mixing water can evaporate almost exclusively through the surface — the classic recipe for early drying shrinkage cracks, see preventing plastic shrinkage cracks. And cracks here also threaten, via sound bridges, the acoustic performance for which the floor was floated in the first place.
Shrinkage reinforcement is therefore not an option but the starting point for floating screeds. The practical rules, consistent with the general screed guidelines:
• Floating screed of 65–70 mm on firm, barely compressible insulation (compression-resistant EPS, PIR) — fibre reinforcement alone can suffice; the reinforcement only has to control the shrinkage.
• Floating screed thinner than 65 mm, or on a resilient acoustic layer — combine screed mesh with fibres: the mesh absorbs the deformation of the insulation, the fibres control cracking throughout the volume.
• With underfloor heating — fibres are standard, because of the thermal cycles on top of the shrinkage.
On the resilient base, fibres have the edge over a mesh alone: screed mesh only works if it sits at the right height in the cross-section, and it is precisely on a compressible layer that a mesh easily sinks to the bottom. Fibres are by definition everywhere — a fibrillated PP fibre for screeds on insulation such as Profib contains around 100,000 fibres per kilogram, so at 1 kg/m³ there is fibre within a few millimetres of every potential crack plane. Note: shrinkage reinforcement is not structural reinforcement; if the floor contributes structurally, a structural engineer's calculation is required.
Which fibre and which dosage?
For floating sand-cement screeds, two polypropylene micro fibres are relevant:
• Profib — fibrillated PP tape fibre (6 and 12 mm), the shrinkage fibre for floating screeds: its branched structure anchors mechanically in the semi-dry mortar. Dosage 0.9–1.0 kg/m³; a 10 kg box covers around 10 m³ of mortar.
• Promicro — monofilament PP micro fibre (12 mm, fibre class 1a to EN 14889-2), at 0.6–1.0 kg/m³ the choice when, alongside shrinkage control, a finer surface quality also counts, for instance under thin finishing floors.
The fibres go straight into the mixer on site or at the pump and, for a 70 mm thick floor, cost less than €0.25 per m² in material (indicative, 2026 price level) — negligible against the total price of €15–25 per m² for laying a floating screed, excluding insulation.
Chape isolante and floating chape: the Belgian practice
In Flanders the floating screed is called a zwevende chape, and around the insulation a vocabulary of its own exists there. A chape isolante (insulating chape) is a levelling layer of cement with polystyrene beads — "chape isolante billes polystyrène" — which buries pipework and insulates at the same time; the actual finishing chape goes on top. Isolatie chape refers to the board insulation (EPS, PIR or acoustic boards) beneath the chape, and randisolatie chape is simply the edge strip. Technically, the same rules apply as above: minimum 65–70 mm of finishing chape, membrane over the insulation, edge strips up above the finish and fibres in the chape — Belgian chape installers already work with screed fibres as standard, and Dutch Fiber Trading supplies the same fibres to Dutch and Belgian screed layers alike.
From detail to order
A good floating screed comes down to four verifiable decisions: a closed detail (edge strips, membrane, sleeves), the right thickness (65–70 mm, with underfloor heating 70–80 mm), an insulation layer that suits both the purpose and the reinforcement regime, and fibres in the mortar — below 65 mm or on resilient insulation supplemented with screed mesh. If you are undecided between Profib and Promicro, or want to know how many boxes your project needs, the selection tool works it out in a few steps. Or send your floor build-up — area, thickness, insulation type and finish — with a quotation request; you will receive advice with a dosage per m³ within two working days.
Frequently asked questions
- What is a floating screed?
- A floating screed is a finishing floor that lies completely free of the structural floor and the walls: it rests on an insulation layer and is separated from all rising elements by edge strips. As a result, the floor insulates thermally and damps impact sound. The build-up: structural floor, edge strip, insulation, membrane and on top the sand-cement screed or flowing screed of at least 65–70 mm.
- What is the minimum thickness of a floating screed?
- Allow at least 65 mm for a floating sand-cement screed, 70 mm being common; with underfloor heating 70–80 mm total with a minimum of around 20 mm of cover above the pipes. Thinner than 65 mm is only possible with screed mesh combined with fibres, because the floor then has too little inherent stiffness on the resilient insulation layer. Flowing screeds may be thinner in accordance with the manufacturer's specification.
- How much difference does a floating screed make to impact sound?
- A well-executed floating screed delivers an impact sound improvement in the order of 10 dB or more — usually needed to meet the statutory requirement for party floors between dwellings. The precondition is that the floor makes contact nowhere: edge strips up above the finish, membrane without mortar bridges and resilient sleeves around penetrations. A single sound bridge can largely cancel out the improvement.
- Which insulation do you lay under a floating screed?
- For thermal insulation on the ground floor: compression-resistant EPS or PIR (higher insulation value per centimetre where build-up height is tight). For impact sound on upper floors: resilient acoustic boards or quilts, possibly on a rigid base layer. The choice drives the reinforcement: on barely compressible boards, fibres suffice; on resilient layers, you combine fibres with screed mesh.
- Does a floating screed always need reinforcement?
- Yes, shrinkage reinforcement is the starting point for floating screeds: the floor lies on a resilient, non-absorbent base and therefore cracks sooner than a bonded screed. On firm, barely compressible insulation, a screed fibre such as Profib at 0.9–1.0 kg/m³ is sufficient; thinner than 65 mm or on resilient acoustic insulation, you combine fibres with screed mesh. Structurally contributing floors always require a calculation.
- What is a chape isolante?
- A chape isolante is, in Belgium, an insulating levelling layer of cement mixed with polystyrene beads, which buries pipework and provides thermal insulation at the same time. The actual finishing chape of at least 65–70 mm goes on top. Do not confuse the term with "isolatie chape" (board insulation beneath the chape) or "randisolatie" (the edge strip); the floating chape itself follows the same rules as the Dutch floating screed, including fibres against cracking.
Products mentioned
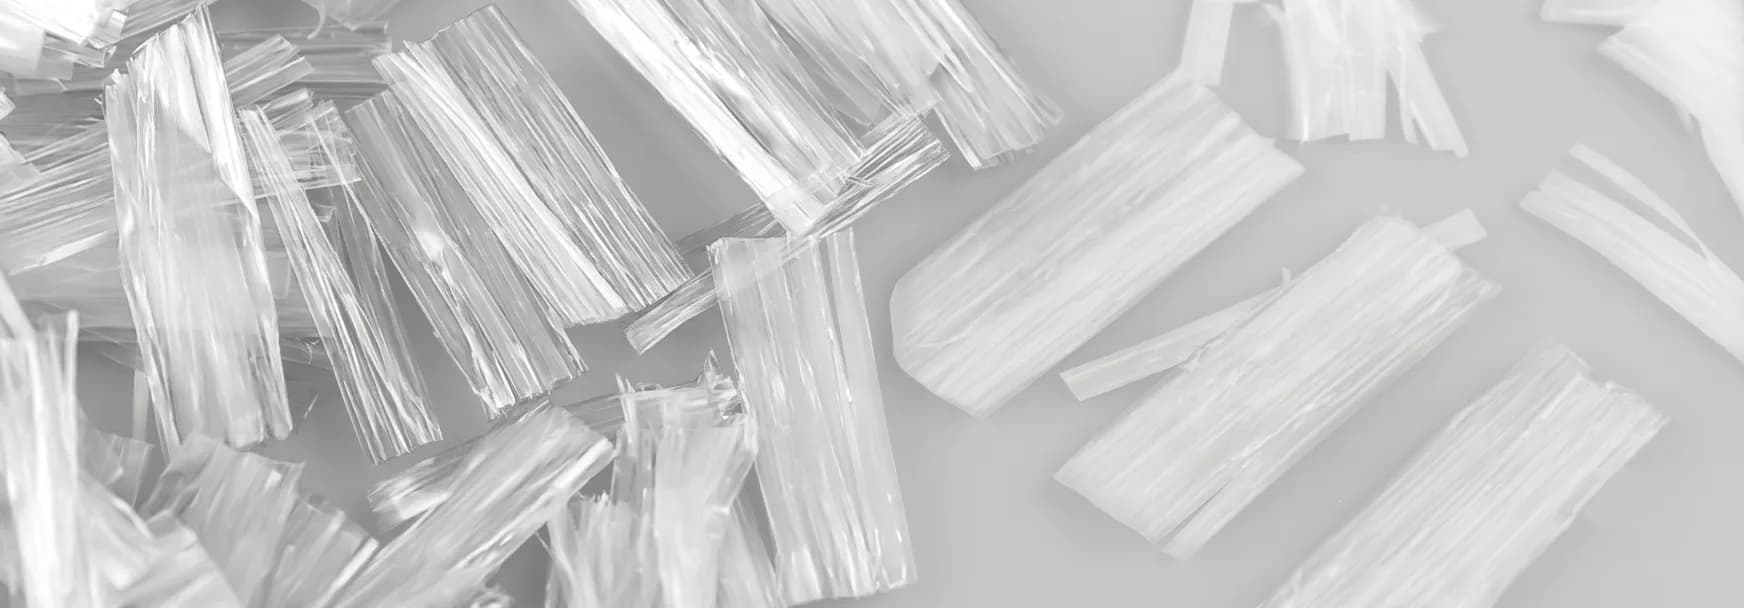
Profib
Fibrillated PP micro fibre for plastic shrinkage crack control, strong in sand-cement screeds. Disperses homogeneously through the concrete.
- TypePolypropylene (fibrillated tape)
- Length6 and 12 mm
- Number of fibres per kg100,000
- Tensile strength370 MPa
Pallet price on request
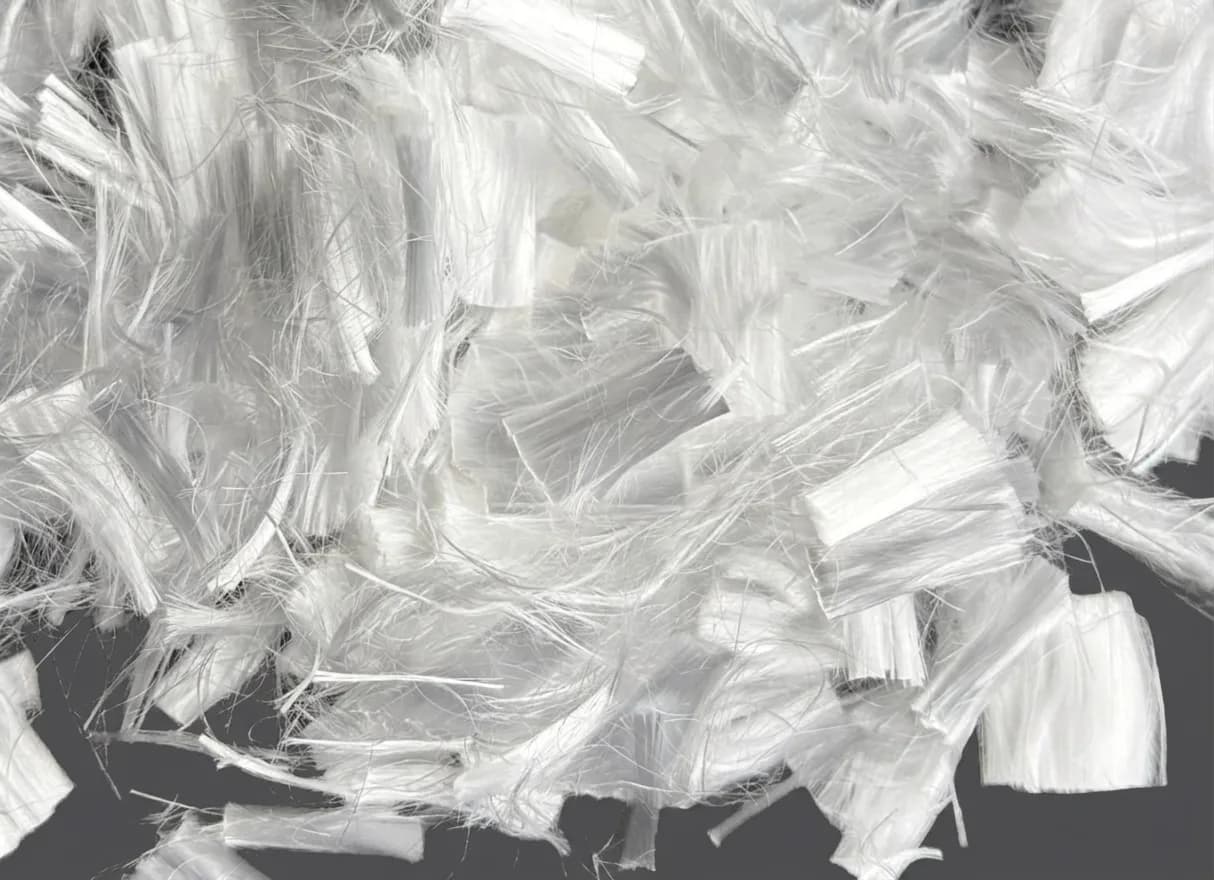
Promicro
Synthetic PP monofilament micro fibre against plastic shrinkage cracks. Homogeneous dispersion and better surface quality at a low dosage.
- TypePolypropylene monofilament (round cross-section)
- Length12 mm
- Equivalent diameter32 µm
- Linear density6.5 dpf
Pallet price on request